Low Hydration Pizza Dough
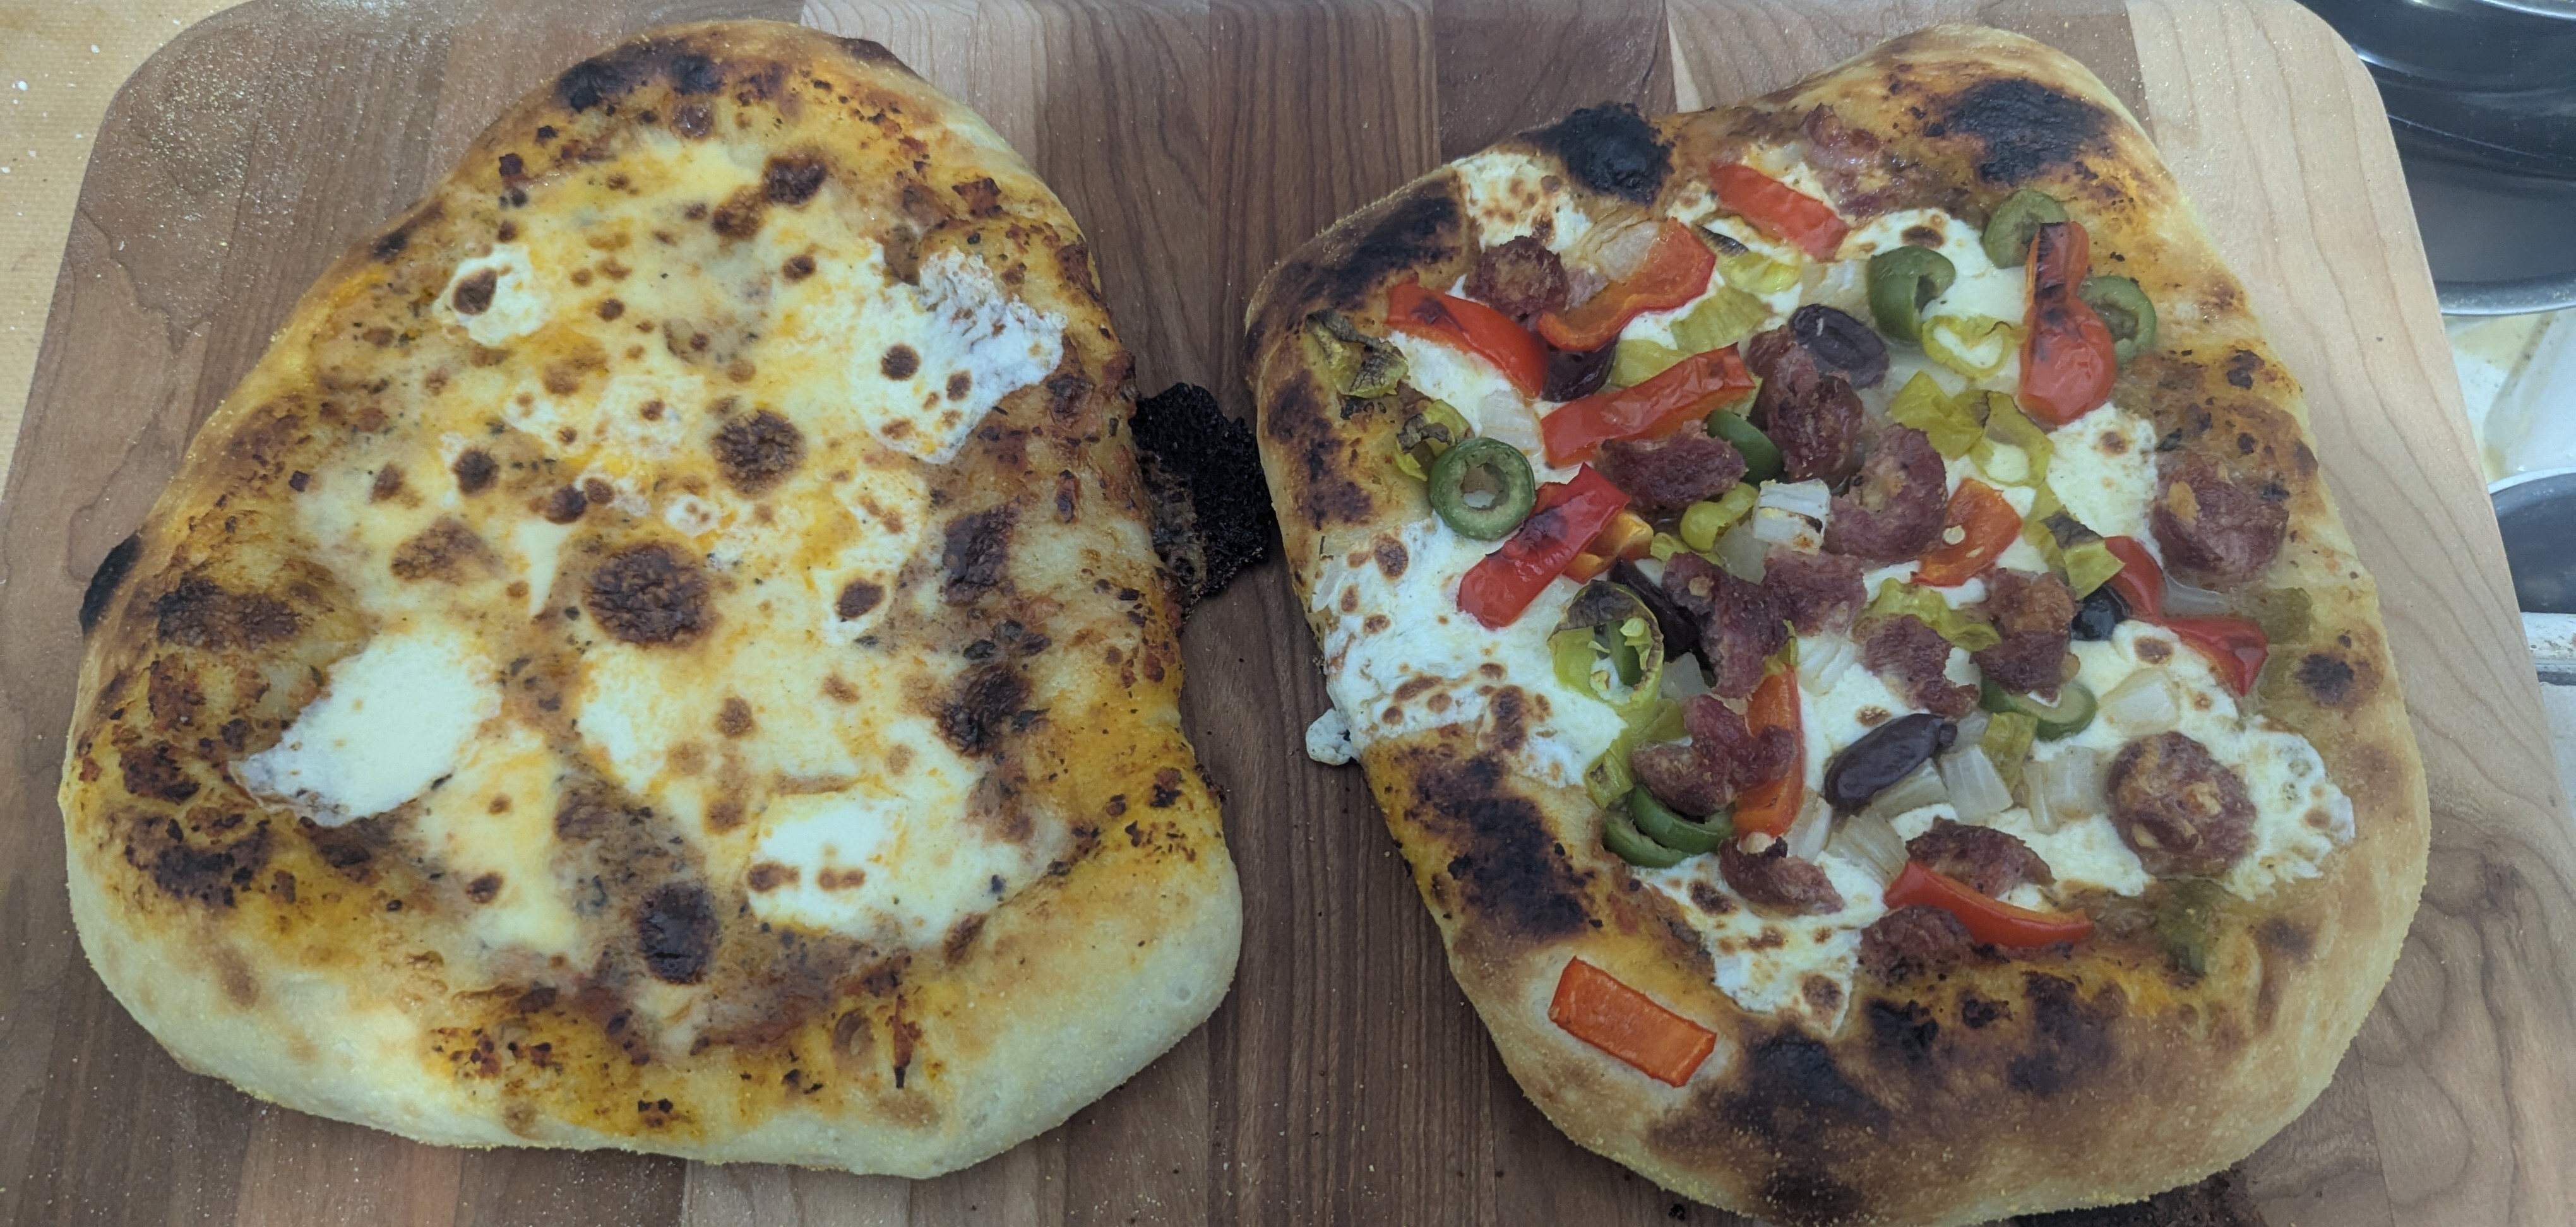
Some early versions of this recipe. I didn’t quite have shaping down, and topped a little too heavy, but still delicious.
Pizza has long been one of my favorite foods. I am partial to New Haven style, and Neapolitan, but it’s very hard to go wrong with a good dough topped with savory, acidic, and spicy toppings – and cheese, of course. When I first started experimenting with sourdough, one of the first recipes I tried aside from the classic Tartine-style loaf was pizza. Originally, I just took the same recipe I used for loaves, added some olive oil, and worked it a bit more to build up gluten and hold the thinner pie together. That worked out ok, but “ok” is the enemy of “better”, and of course I wanted to try and make something better… This led to various rabbit holes, baking forums, old wives tales, and ordering various fancy flours online, including Tipo 00 directly from Italy. I found that 00 with a very low hydration got me where I wanted to be – light but chewy crust, very thin, that was still substantial enough to support sauces and toppings. The below recipe does work best with Tipo 00, but it also works adequately with a regular American all-purpose (AP) flour if you don’t have 00.
Ingredients
Measurements are for two personal pizzas about 25 cm (10 in) diameter. This will also serve for a medium-sized low-hydration focaccia, or 6-8 pitas. The starter is 100-percent hydration, equal parts flour and water by weight – so you could sub in that much extra flour and water, and add commercial yeast, if you do not have sourdough starter.
| Ingredient | g | % |
|---|---|---|
| starter | 100 | 27.8 |
| flour | 360 | 100 |
| water | 200 | 55.6 |
| olive oil* | 40 | 11.1 |
| salt | 8 | 2.22 |
* plus a bit more
Recipe
Reserve 40g of water, and add salt to it. You may also add the olive oil, or keep it separate. Set aside to let the salt dissolve, then mix the starter into the remaining (unsalted) water, so that no large clumps remain. To this, add the flour and mix well until no dry spots remain – this may take some effort as the dough will be very dry at this point. Cover with a cloth or bowl cover, and set aside to autolyze. You should let this portion of dough rest and autolyze for about 30 min or more for best flavor development. While it does this, you may want to stir the salt-water mixture to encourage the salt to dissolve, or even heat it slightly – though not too hot or you may scald the dough in the next step.
Once the dough is autolyzed as desired, add the salt water and olive oil, and mix and knead until a smooth, cohesive dough forms. Continue to knead until you can feel good gluten development. The dough should resist stretching somewhat, and an aliquot should pass the “window pane” test, being able to be stretched several centimeters until practically see-thru without tearing.
Rest the dough again at this point, 15-30 min until it relaxes slightly. Now divide into two equal-sized balls, and pre-shape. Form the each piece of dough into a rough ball, and then tuck it under itself in a rotating motion: with one hand, hold the ball in place, and with your other hand or a bench scraper, drag the dough in a turning motion and tuck under, so that the top becomes tight and smooth. Once both balls are shaped, coat lightly in a bit more olive oil, and wrap in plastic wrap or clean plastic bags. Put these in a container to catch any excess oil, and set aside to proof. Depending on your kitchen temperature and starter activity this could take 2-4 hours at room temperature, or overnight in the refrigerator. I usually do about 20 hours cold proof, but you could probably go shorter or longer.
When the dough is proofed, it should spring back readily when poked, and be somewhat “puffed” from its shaped size. If coming off of a cold proof, leave in refrigerator until ready for final shaping, if warm proofed, put in refrigerator while you preheat the oven – this will make shaping easier.
Preheat oven to 550°F with a baking steel or pizza stone. If you have neither, a large cast iron pan can work, or a baking sheet in a pinch, though it won’t retain heat as well. With a baking steel, I like to further boost the temperature by broiling it on hi once the oven preheats, for about 10 minutes. This may help with a cast iron pan, too, though probably not do much with a baking sheet. It might crack a pizza stone.
While the oven preheats, shape the dough. On a surface prepared with cornmeal or flour, slap the ball down into a circle. Using the pads of your fingers, press the middle and almost to the edges, starting from the center, and flipping the dough so that you are always pushing it out and up. Take care to not disturb the margins for a good crust on the edges. For the final shaping, you can hold half the pie down with one hand, and pull the other edges carefully without tearing, flipping it back and forth to get the final stretch and keep it mostly circular. If this doesn’t make much sense, just stick to pressing and pulling, or look up a video.
Once the oven is at temperature (after broiling the steel if taking that step), top the pizza with sauce and toppings. Keep it fairly light while you are learning how the dough behaves… a few spoons of tomato sauce and olive oil, a blend of shredded cheeses to cover that, and judiciously-placed additional toppings works well. Too heavy topping can make the dough bake slower, and lead to under-baked centers.
Launch the pie onto the steel or stone with a peel – this may require a bit more finagling if you are using a pan or a rimmed baking sheet. Parchment paper can help, but then you may need to be more careful with the broiler. Switch between oven and broiler as needed to keep temperatures high, and rotate the pie partway thru the bake. In a conventional oven, it should take 5-10 minutes on a baking steel, but many factors can influence this so pay attention to the way the pie is baking. You want a blistery crust on the edges, and some charring on the bottom, plus of course melted and lightly toasted cheese and toppings.